
How to Run a Hybrid Webinar on GoToWebinar

As B2B veterinary marketers, webinars are a cornerstone of what we do at Red Brick. There are three ways to run these virtual events:
Completely simulated. The content is pre-recorded, the broadcast date is set, and the webinar platform automatically runs your event without any need to sign in. This is the easiest way to run a webinar with the lowest risk for technology problems. The major drawback to this method is that you don’t have any opportunity for audience interaction.
Completely live. In this type of event, you log on live with your presenters and broadcast your content. This method allows for a high level of audience interaction but requires practice with your presenters to ensure the session goes smoothly since it’s live.
A Hybrid event. For this type of event, we air a live pre-recorded presentation and switch over to a live question-and-answer session at the conclusion of the pre-recorded session. This option provides the best of both worlds but can be technically very challenging. In this blog, we’ll provide step-by-step instructions for hosting these types of events in GoToWebinar.
Webinar Setup

Step 1: Schedule your event as a “live” webinar. Select “standard event” for how you want to interact with your attendees.
Step 2: Invite the panelists who will be speaking during the live Q&A session.
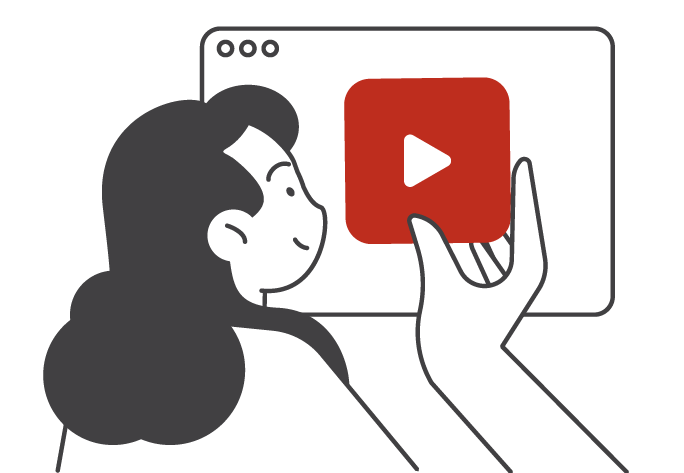
Step 3: In the "engage your attendees" section under "videos," upload your video. This is where you upload your pre-recorded presentation. There are two options, to directly upload an .mp4 file, or to host your content on YouTube and add a YouTube Link. We prefer to upload the mp4 because that eliminates your reliance on YouTube streaming which can be finicky, but as of March 2024 that was not a viable option for attendees on iPhones. In March 2024 there was a glitch in the GoTo app that doesn’t allow iPhone attendees to have any audio on the streaming of the pre-recorded .mp4 files. BUMMER!
The alternate option is to upload to YouTube and play from the link. This does work for users across all platforms but is reliant upon good connectivity of attendees to properly view the content. When the webinar begins the users will see a YouTube logo for a few seconds as the video gets going and they will also see the logo of the YouTube channel where the video is hosted. At the conclusion of the webinar you need to switch very quickly off the video or it will begin suggesting other content to view on YouTube. Not great, but if you know what’s happening you can plan for a quick switch.
Step 4: Create a Q&A slide you can transition to after the video is done. This will give you a visual for the audience to look at while you do the technical switch from the pre-recorded content to the live portion of the webinar
The big takeaway here…
NO MATTER WHAT WAY YOU DO THIS TEST IT. Clone the webinar, do a practice session, and join as an attendee from a computer and an iPhone. Don’t just test it for a few minutes; run the entire session through to make sure there are no issues and to get comfortable switching from the pre-recorded content to the live session.
On the Day of the Broadcast
Preparing the panel
Make sure your panel will be answering live questions signs 20-30 minutes early so you have time to get them set up.
Show your speaker panel how to pop out the questions pane so you can assign them questions during the webinar. Show them how they can type responses during the presentation or advise them to hold the questions for verbal answers at the conclusion of the pre-recorded session.
Running the session

Open the Q&A slide and put it in slideshow mode ideally on a second screen so you have it ready to quickly switch to after the recording
In the GoToWebinar control panel under "sharing" locate the video you uploaded or linked to. If you CLICK IT AT ALL, the audience will see it, so practice this in advance so you’re comfortable with when to click it. Essentially, don't click it til you are ready to start the broadcast. You will not have the ability to rewind or fast forward on the video, so you don’t want to jump the gun early.
Mute your panelists, and have them turn off their webcams.
When you are ready, make sure your broadcast is set to record and start the broadcast.
Click "share" select the video, then click the play button on the video. The video will not autoplay you have to click the play button and remember, you cannot rewind the video or fast forward the video. Until you hit play, the YouTube logo and your channel logo will be visible on the video, so try to hit play quickly.
Monitor the questions pane while the video is playing and assign questions to your panel by right-clicking the question and clicking assign question.
As the pre-recorded video comes to an end get ready before the movie ends to share the slideshow that you have waiting on your other screen.
Right as the movie ends (or ideally a few seconds before it ends), under "sharing," click the slide show to switch from sharing the video to sharing the slideshow. You’ll want to practice this transition before the live session.
Next, your panelists should unmute and show their webcams and host the live Q&A. If they are having trouble, you can send them unmute requests and webcam requests that will pop a prompt up on their screen to help them. Make sure you practice this transition in your webinar practice session so your panelists don’t get frustrated.
End the meeting.
IMPORTANT NOTE: The video you played via YouTube or the mp4 upload will NOT BE VISIBLE on the webinar recording. I know. Bummer again. So you'll need to edit the original video you made of the presentation content to add the live Q&A that you recorded during the live session.
If all of this sounds awful and you just want someone else to do it, call us. This is what we do :)